
Transactional Emails
Emails are typically divided into two main types, partly due to compliance reasons.
-
Marketing emails are promotional messages sent to opted-in customers, containing marketing or commercial content to retain or acquire subscribers. These are primarily sent to customers and prospects.
-
Transactional emails are one-to-one emails containing information that completes a transaction or process initiated by the customer, such as order confirmations or password reset messages. These are triggered by individual actions rather than sent in pre-scheduled batches.
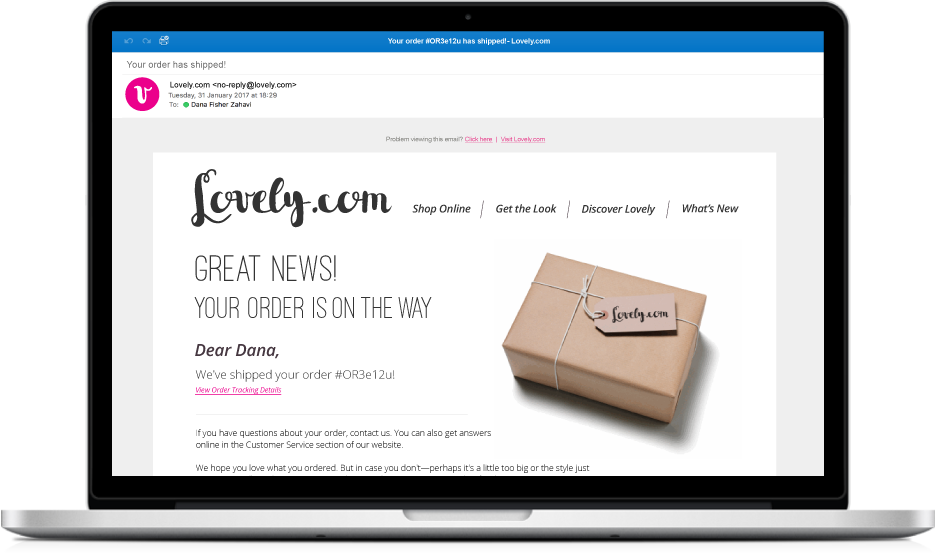
With Email, it is easy to automatically send personalized transaction confirmation emails to customers. These transactional emails are typically generated in response to events such as a purchase made, shipment sent, or game level reached.
This document outlines the steps required to set up automatic transactional emails.
Setting Up Transactional Emails in Email
Before integration and warm-up, identify whether you need a transactional IP and account:
- Are your messages triggered based on customer actions?
- Are they related to a transaction or customer process?
- Are you sending to both opted-in and opted-out users?
If "yes," proceed with the steps below.
Step 1: Complete the account form
When completing your account request form in your Customer Portal, make sure to fill out a separate form specifically for creating a transactional account.
Once submitted, Optimove’s Product Integration Team will provide you with the DNS records for your account/IP.
Step 2: Implement your transactional IP’s DNS records
Just like for your marketing account:
- Add the provided DNS records to your domain management platform (DNS host) before triggering transactional messages.
- This step is required for sender authentication.
Once done, confirm with your CSM or Project Manager to validate the records.
Step 3: Create an API Key and Connect to the Optimove API
To trigger transactional campaigns based on customer events:
- Create a new API Key.
- Connect to the Optimove Transactional Email API.
For detailed API documentation:
Step 4: Create or migrate your transactional templates
You can create templates using:
- Visual Editor (drag & drop) or
- HTML Editor.
Important:
- Transactional templates are stored separately from marketing templates.
- When creating a template, select "Transactional" from the account "Type" dropdown.

When adding personalization:
- Use the correct transactional tags.
- Tags must be prefixed with
TRANS:(e.g.,[%TRANS:CART_URL%]) to be recognized.

Step 5: Confirm daily anticipated send volumes
If your daily sending volumes exceed 5,000 during onboarding or migration:
- Special accommodations and throttling plans may be needed.
- This ensures safe and strategic development of your IP's sender reputation.
For additional questions or support, please contact your CSM or Project Manager.
Important Notes
- Your CSM will provide API credentials if you don't have them.
- The TemplateID for each template is available at the bottom of the Manage Templates page:
- Each
SendMailcall can contain multiple recipients with associated personalization tags.- Personalization tags must exactly match the system-defined names and begin with
TRANS:.- You can optionally schedule email sending time (UTC) with the
ScheduleTimeparameter. Without it, emails are sent immediately.

Retrieving Metrics for Past Transactional Emails
You can retrieve post-execution metrics by using the Optimove API:
- GetTemplateMetrics — metrics by template.
- GetUserMetrics — metrics by recipient.
Tracking Performance for Transactional Emails
Use Optimove's Campaign Deliverability BI Report to:
- Monitor performance of your transactional emails.
- Gain insights into factors impacting sender reputation.
For more on this report, visit The Campaigns Deliverability Report article.
Updated 4 days ago