
Product Recommendation Campaigns
Using Email, you can easily create product recommendation campaigns that fully automate the delivery of personalized emails based on individual customer behavior and market basket analysis.
Each customer receives specific recommendations containing the products deemed most relevant to them.
This guide explains how to set up product recommendation campaigns in Optimove.
For preliminary information about creating Email templates and sending Email campaigns, refer to Getting Started with Email.
Step 1: Prepare Your Recommendation Templates
-
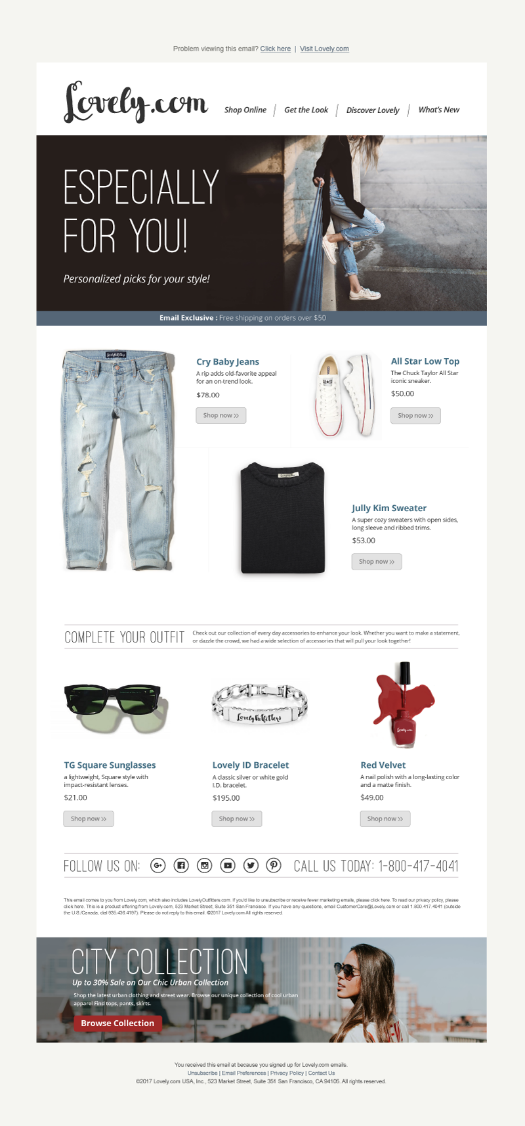
Prepare separate HTML templates for each number of products to be included in a recommendation email.
If campaigns recommend up to 10 products per email ("Max items per campaign"), create 10 templates:- One template for 1 product
- One template for 2 products
- And so forth up to 10 products
- Templates can be identical except for the number of product placeholders.
-
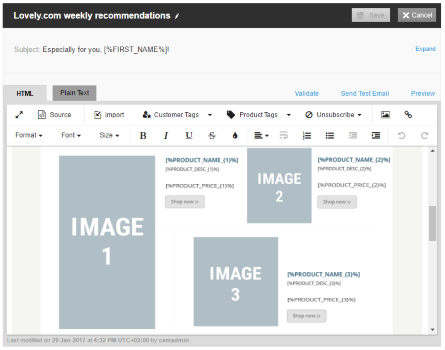
Insert Optimove Product Tags to personalize the templates.
Example tags:[%PRODUCT_NAME_{X}%][%PRODUCT_DESC_{X}%][%BRAND_{X}%][%CATEGORY_{X}%][%DEPARTMENT_{X}%][%PRODUCT_IMAGE_{X}%][%PRICE_{X}%]
Replace {X} with the product's sequential number inside the template.
Example HTML
Original product snippet:
<p class="brand">Lovely.com</p>
<p class="image"><img src="assets/img/products/Lashes_Lavender.png"></p>
<p class="primary">
  <span class="productname">Lashes Lavender</span>
  A highly pigmented powder<br>
  that applies evenly.<br>
  <span class="price">$15.99</span>
</p>
Repeat for each product placeholder ({2}, {3}, {4}, etc.).
Note: Optimove will not validate the sequential numbering. Make sure you number your tags correctly.
- Include an unsubscribe tag:
Add[%UNSUB%]within the template's HTML.
Step 2: Import the Recommendation Templates into Optimove
-
In Manage Templates, create a new folder for the set of recommendation templates.
The folder will automatically have an{X}suffix indicating it contains a recommendation set. -
For each prepared template:
-
Create a new template inside the folder.
-
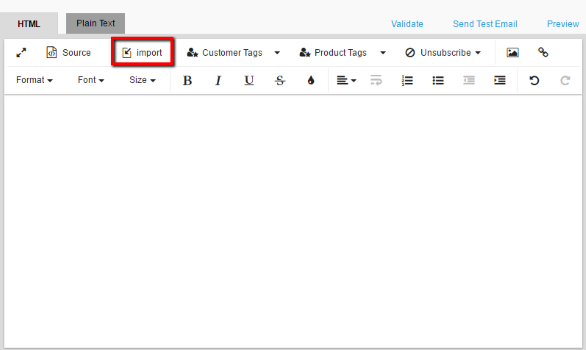
Use the Import option to upload the HTML file.
-
During import, product image tags will be replaced with placeholder images.
-
-
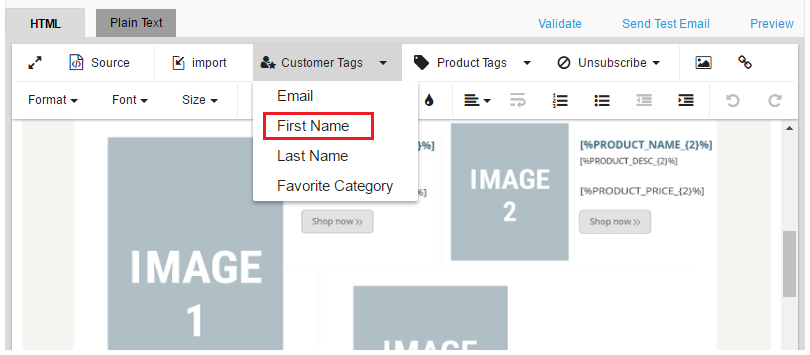
Add Customer Tags where needed (e.g., customer name, email).
-
Similarly, use the Product Tags chooser to insert additional product attributes into your templates.
Note: Tags that reference URLs (e.g., product image URLs) must be placed manually in the HTML before importing. They cannot be inserted via the Product Tags chooser.
-
If not included yet, add the unsubscribe tag using the Unsubscribe chooser.
-
Click Validate to verify all tags are recognized.
-
Add the following to each template:
- Subject Line
- From Email Address
- From Name
-
Test your templates:
- Send a Test Email.
- Create a Test Campaign to ensure each email appears as expected before sending to customers.
Step 3: Create the Recommendation Campaign
-
Create a Marketing Action of type Recommendation.
This connects the campaign to the Optimove recommendation engine (or your external engine), which dynamically identifies the best products for each customer daily.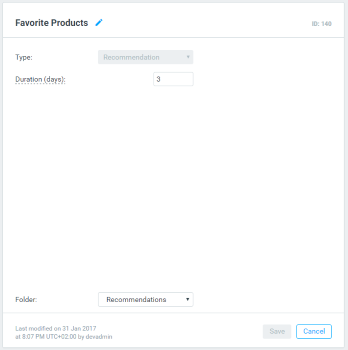
Note: You can create multiple actions of type Recommendation, but they will all use the same recommendation algorithm.
-
Create a Target Group including customers eligible for the campaign:
- Example: Customers who did not receive a recommendation in the previous week.
- Alternatively: Include your entire customer base if applicable.
-
Create a New Campaign:
- Select your Recommendation Action.
- Choose Email as the execution channel.
- Select a folder containing your set of recommendation templates (those with
{X}suffix).
Note: Recommendation campaigns can be run as A/B tests, but both marketing actions must be of type Recommendation.
- During execution:
- Optimove selects the appropriate template based on how many products are recommended for each customer.
- Product placeholders are automatically replaced with the correct customer-specific product data.
Updated 4 days ago