
Recognizing a Returning Customer
Associating a Visitor with a Recognized Customer - Returning Customer ##
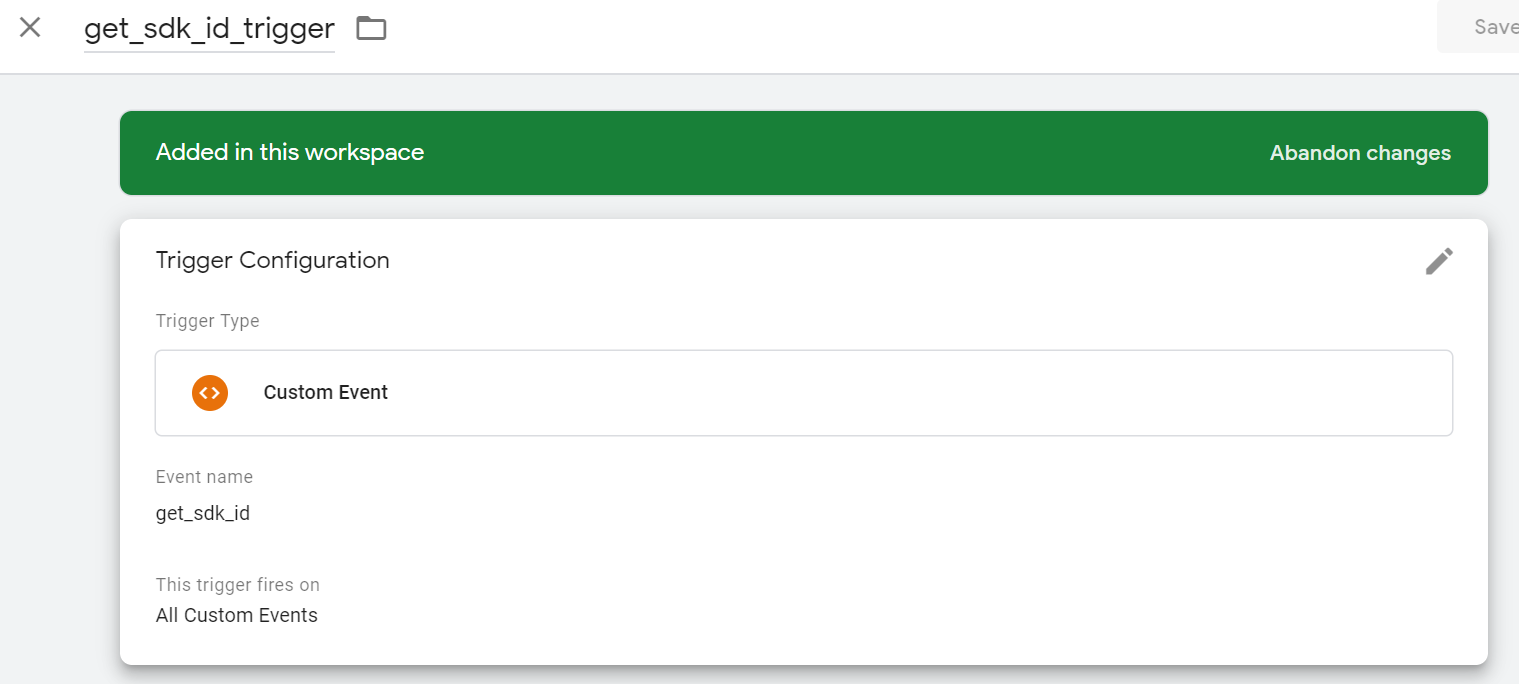
Step 1
- Create a new trigger and name it get_sdk_id_trigger.
- Set the Event name to get_sdk_id.
- Set the trigger to fire on All Custom Events.
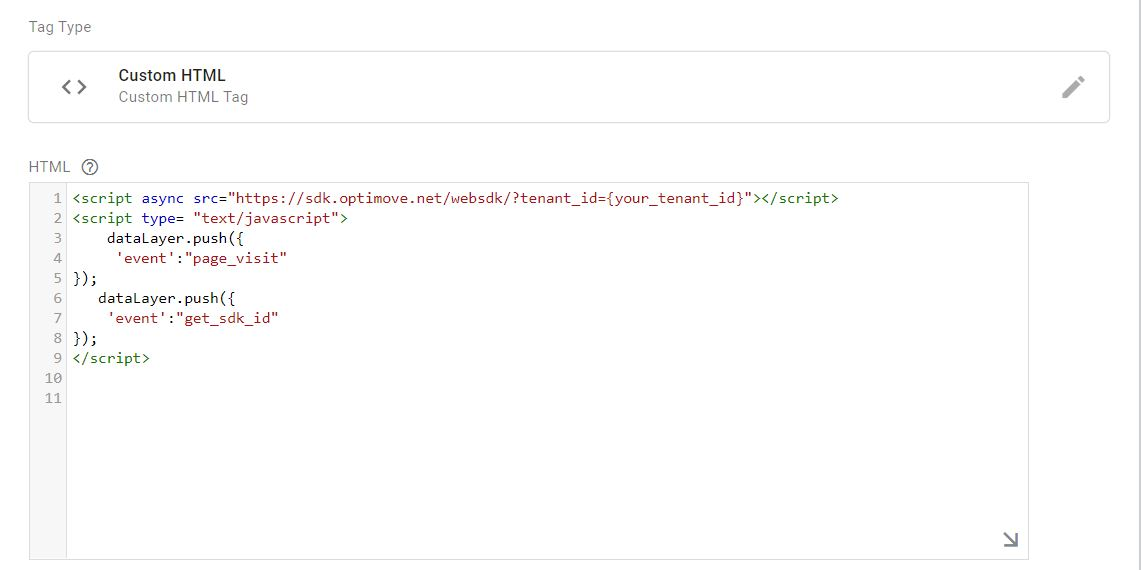
Step 2
- Return to the initialize_sdk_tag tag you created previously.
- Add the following code at the bottom of your Custom HTML for initialize_sdk_tag, after the call:
dataLayer.push({
      'event':"get_sdk_id"
 });
The call inside initialize_sdk_tag should now look like this:
Note:
This is a Google Tag Manager implementation which will cause the forthcoming get_sdk_tag trigger to be fired on every page and look for an SDK id to load.
Step 3
- Create a new tag and name it get_sdk_id_tag.
- Set the type to Custom HTML.
- Set the firing trigger to get_sdk_id_trigger.
Note: Additional step for SPA sites: Set a second firing trigger to history_change_trigger.
- Go to the Custom HTML field for get_sdk_id_tag:

- Paste in the following code:
<script>
  if (document.getElementsByTagName('meta').sdkid.content!=''){
    dataLayer.push({
      		'event':"set_user_id",
    	});
  }

</script>
Note:
This example uses an email address as the user id, which is the metadata element checked for an empty string before firing set_user_id_event. If you're using a different type of user id (e.g., an int), you may have to check if the metadata is null, instead.Note:
Here, too, a meta tag is used to access the unique user id. You may be using a different way to access the unique user id of the customers on your site (e.g., cookie, session information or other HTML tag). You should change your implementation according to the optimum way to access the user id on your site.
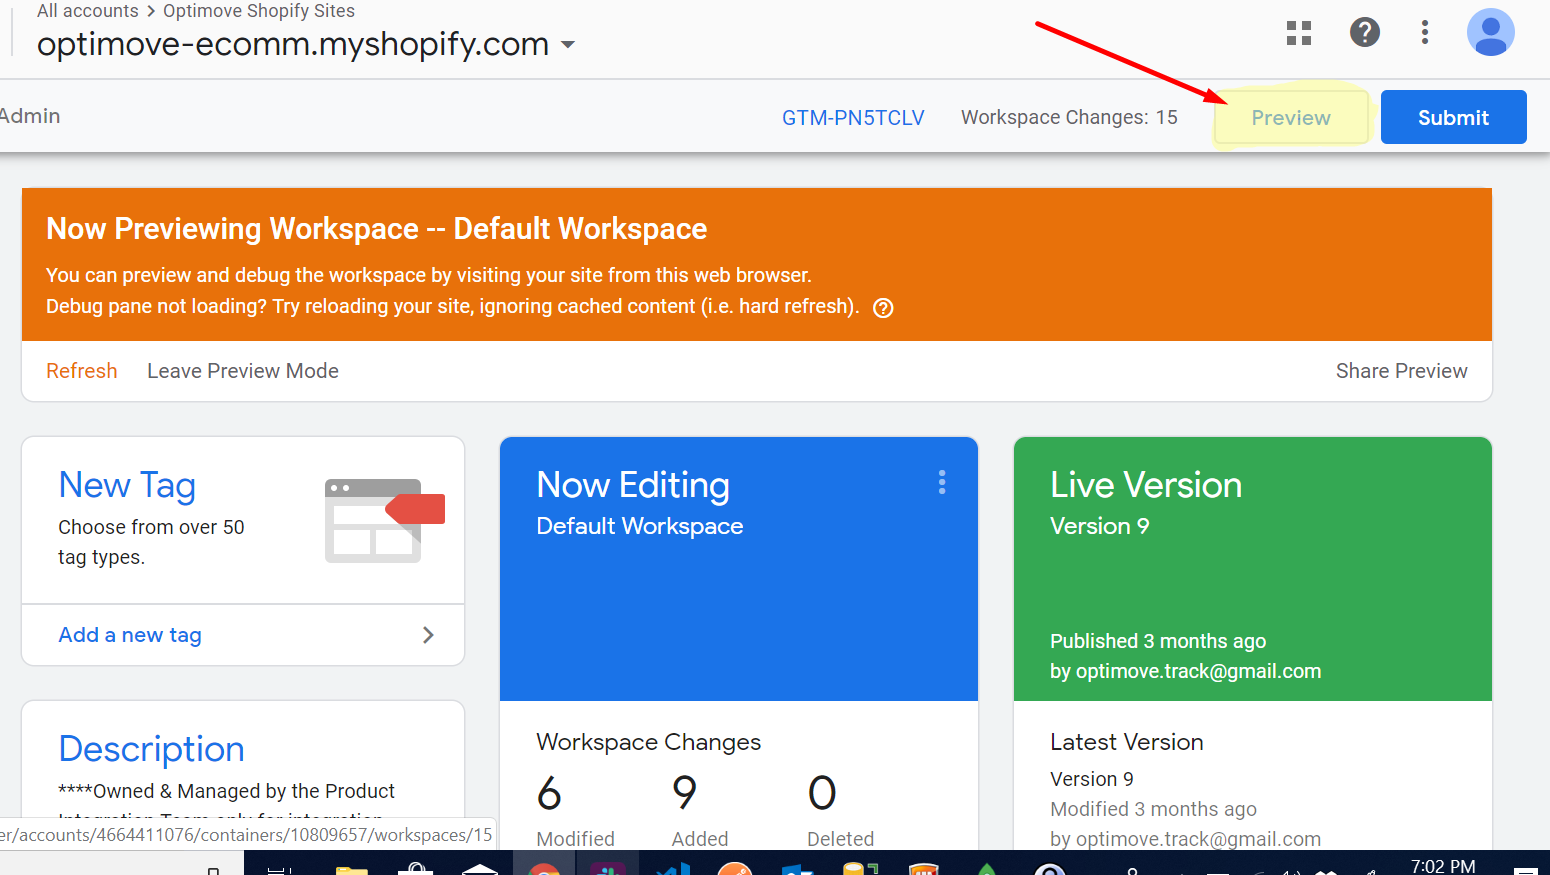
Step 4
- Save the get_sdk_id_tag that you just created.
- Click Preview to check the changes on your site (in Preview mode).
Updated 9 months ago