
Web Inbox Setup
Prerequisites
In order to add Web Inbox you must have already configured the Optimove Web SDK. In which case you will have a script tag on your website that looks something like:
<script async src="https://sdk.optimove.net/websdk/?tenant_id=<YOUR_TENANT_ID>&tenant_token=<YOUR_TENANT_TOKEN>"</script>Updating SDK
In order to use Web Inbox you will need to be targeting the latest version of the Optimove Web SDK
Target v2 of the Optimove Web Sdk
Update the path of your Optimove Web Sdk to add v2 into the path e.g.
https://sdk.optimove.net/v2/websdk/?tenant_id=<YOUR_TENANT_ID>&tenant_token=<YOUR_TENANT_TOKEN>Testing Inbox
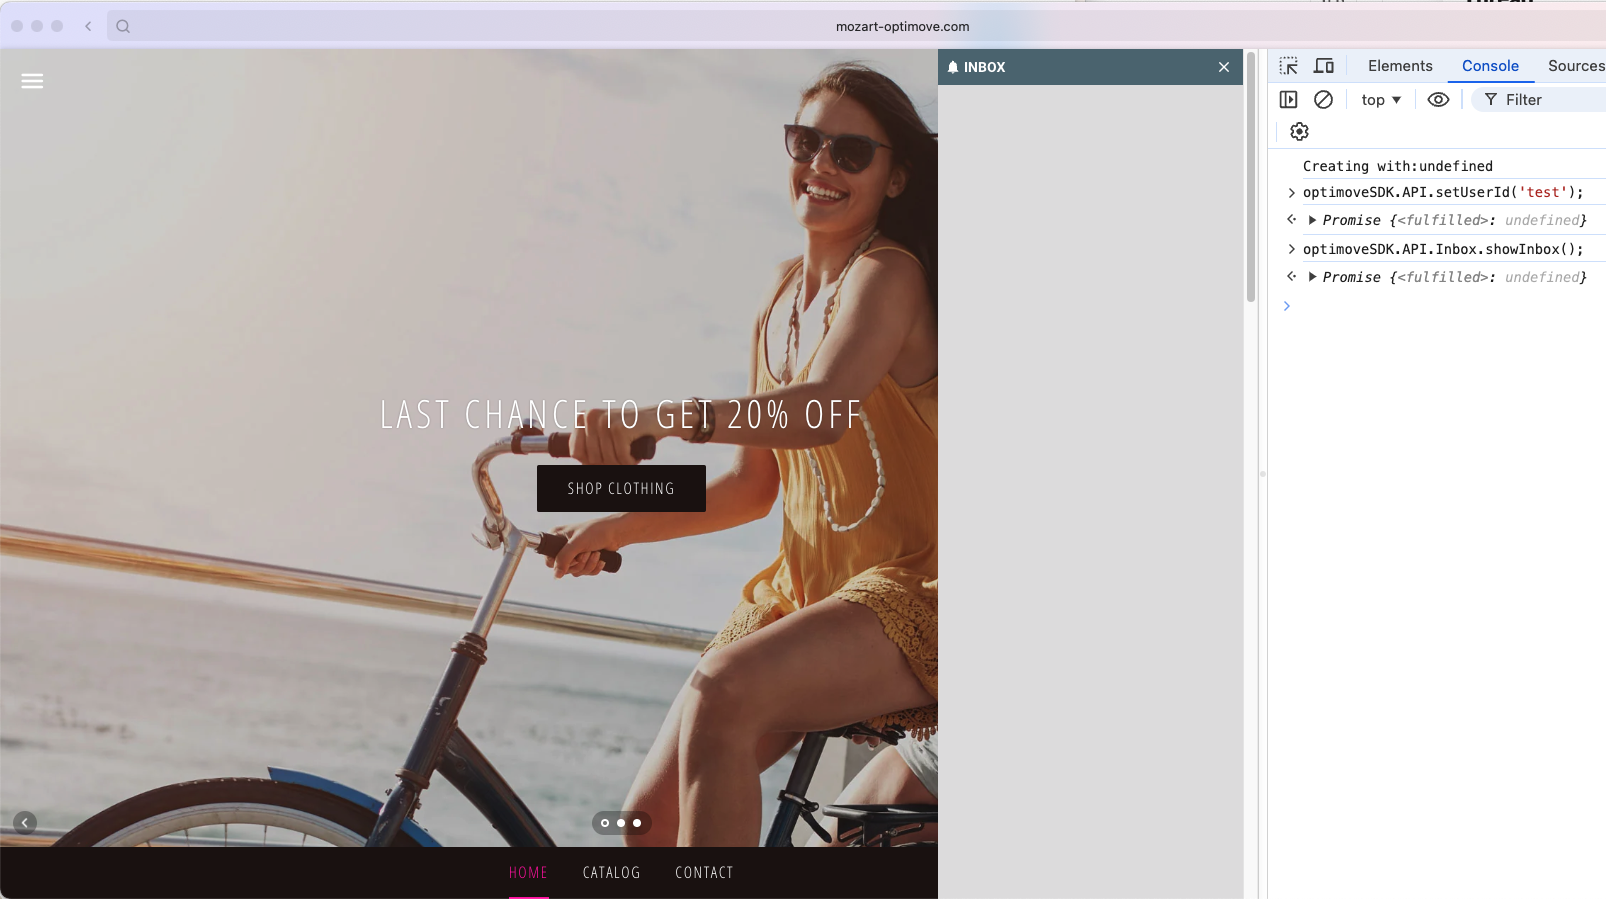
Test that web inbox works by calling the following code from Javascript Console. If you are already logged into your test site you can skip the call to setUserId
optimoveSDK.API.setUserId('test');
optimoveSDK.API.Inbox.showInbox()
This should show the Optimove Out of the Box Web Inbox user interface (which will currently be empty).
If you do not see the inbox appearing then it is likely your tenant/brand has not been provisioned for Web Inbox or you lack a domain mapping for your site. Contact CSE for help.
Opening the Inbox
There are 2 approaches you can you can setup to facilitate opening customers' inbox.
Optimove Badge Widget
The Optimove badge widget can be used to open the inbox.
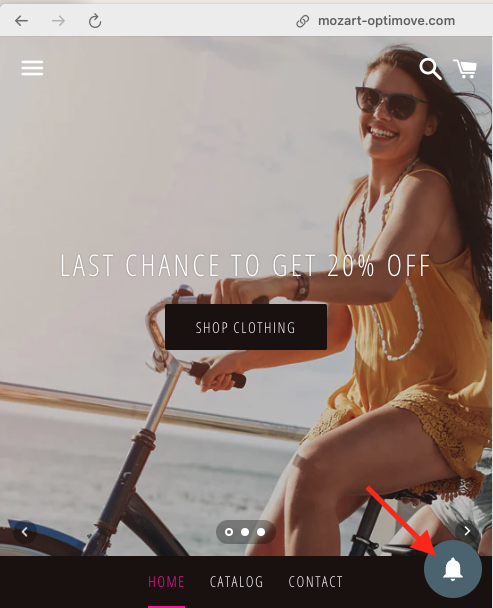
This can be enabled and styled through the Optimove Web Inbox settings page. For advanced styling including re-positioning badge etc see Styling Web Inbox
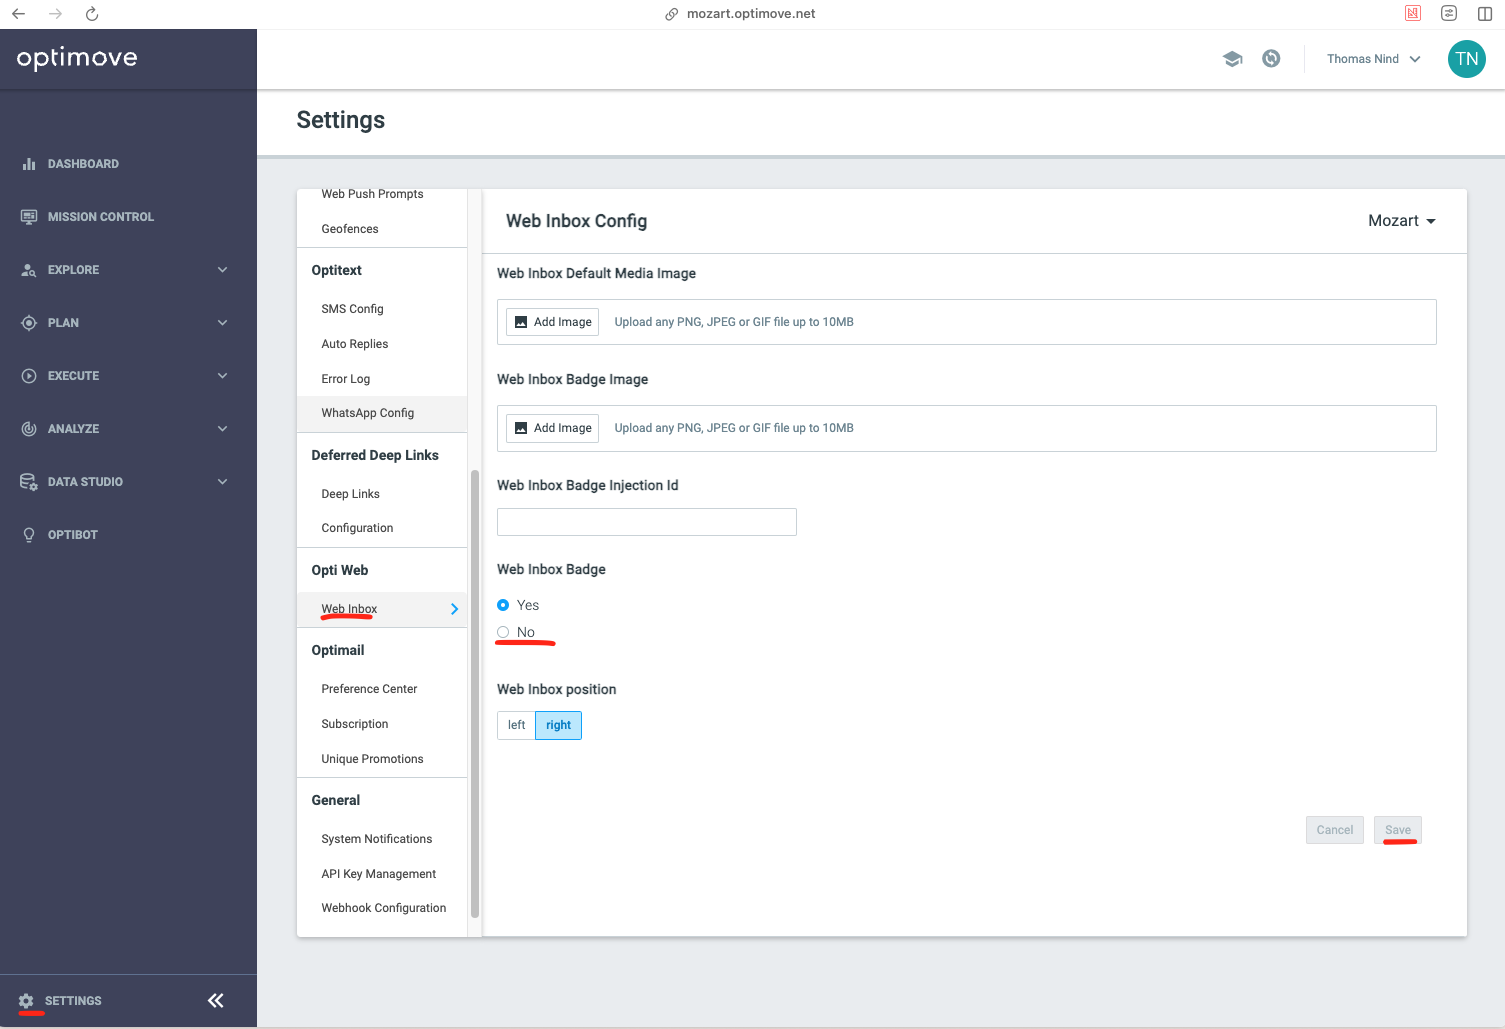
Changes to web inbox settings can take up to 1 hour to take effect due to server-side caching.
If you only want to show the badge on specific pages you can control this by leaving 'Web Inbox Badge' as No and then showing it on demand with a script:
optimoveSDK.API.Inbox.enableBadge();Custom Widget
Alternatively you can create your own button for opening the inbox. For example:
<script>
  function openInbox() {
    optimoveSDK.API.setUserId('test');
    optimoveSDK.API.Inbox.showInbox();
  }
</script>

[...]

<button onclick="openInbox()">Open Inbox</button>
Styling Web Inbox
Web Inbox and Badge widgets are fully customizeable via CSS variables, see Styling Web Inbox for more information.
Updated 9 months ago